


How To Install Aluminum Skirting Profile
Date: 2025-10-15Views: 685
Today, I finally finished installing the Aluminum Skirting Profile. The final result is quite good. After the installation, the biggest impression I got was that this process is actually not difficult. I'm a beginner, and I believe everyone can complete it. This article will specifically talk about this process for you, hoping to be helpful to everyone.
Although the installation process is not difficult, there are still some matters that need to be noted, and personal safety should also be taken into consideration. After all, it involves the use of certain tools, so it is necessary for everyone to go through the entire process.

Tool Preparation
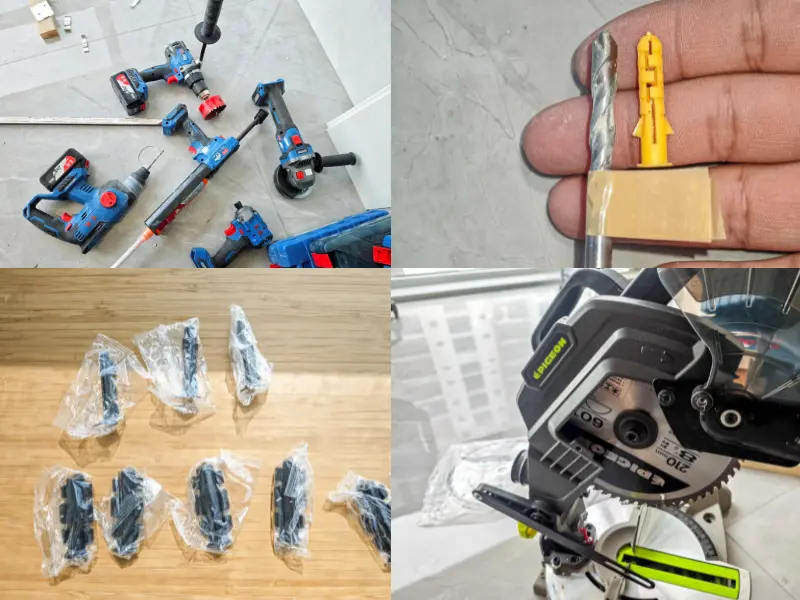
I usually enjoy doing DIY work with aluminum profiles, so all my tools are purchased by myself. This includes a cordless lithium battery electric hammer, which has been very helpful during the installation process. There are also other tools such as 6mm screws, 6mm hoses, 6mm drill bits, markers, aluminum cutting machines, towels, and rubber hammers, etc.
Why did we choose aluminum alloy?
A friend asked why we chose aluminum alloy instead of other materials, such as wood, PVC, etc.
The reason is that wooden materials are prone to moisture absorption, and the skirting board is located relatively close to the floor. If installed, it is more likely to get damp, which will lead to a shorter lifespan.
PVC is the same; its lifespan is not very long either because it is prone to chemical reactions, causing brittleness, and it is not resistant to impact. The corner protection cap often falls off, and I had to use hot melt glue to re-fix it several times, which was very troublesome.
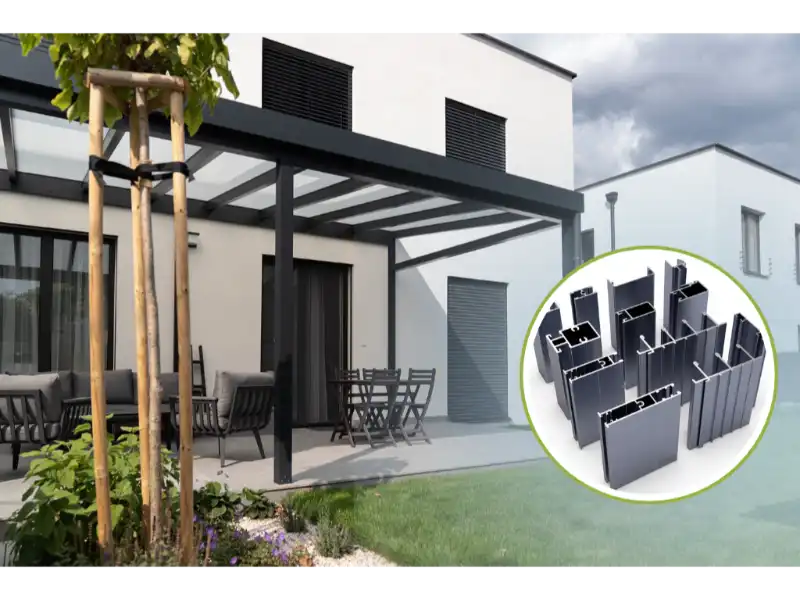
However, aluminum alloy can avoid the problems of these two materials. Because aluminum alloy has the advantages of corrosion resistance, scratch resistance, collision resistance and long lifespan. This is why I chose aluminum alloy as the material for the skirting board. This material is also the most popular, and many people choose it.
How to choose Aluminum Alloy Skirting?
I usually consider factors such as color, style, size and thickness when making a purchase.
Thickness:I usually use the Aluminum Skirting Profile produced by our own factory. The thickness of the aluminum baseboard in Shenghai is generally 0.8mm, 1.0mm and 1.2mm. Among these, the 1.2mm one is the most expensive, but the 1.0mm one is the most suitable. It is durable and has a medium price. If you need other styles, you will need to customize them with us.
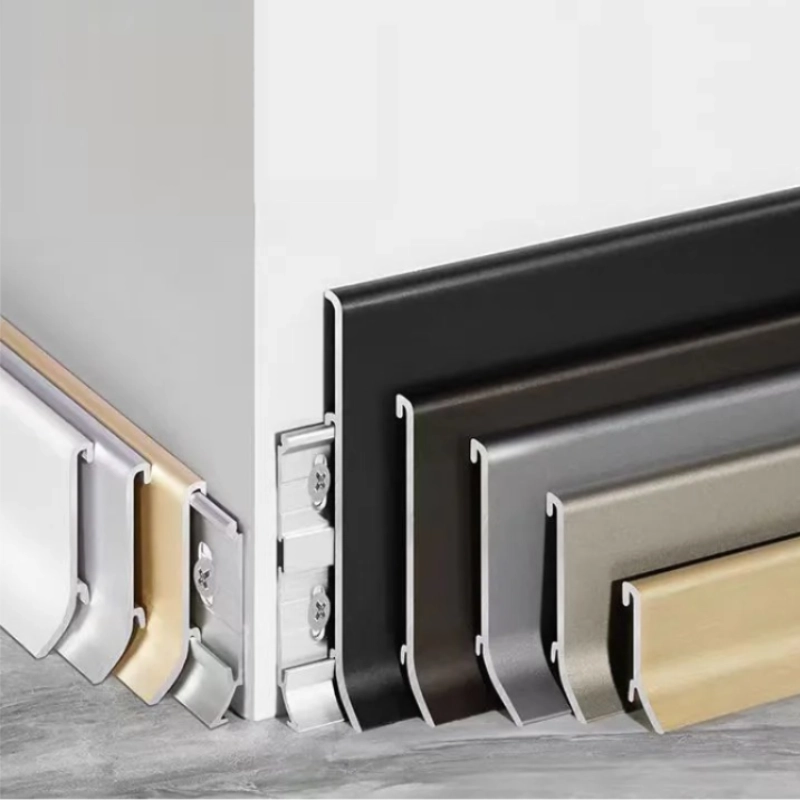
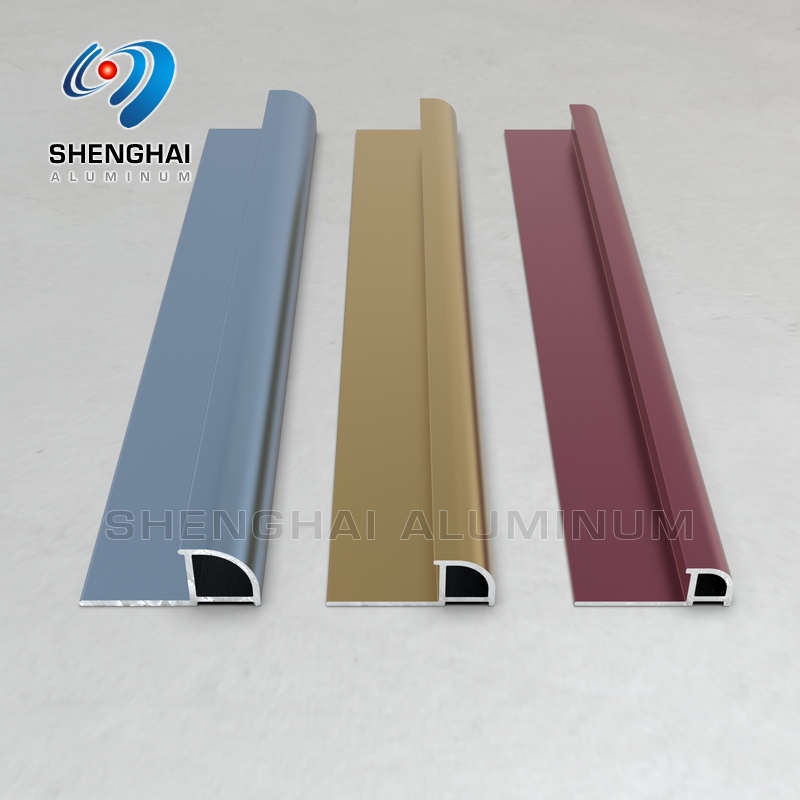
Color:Similarly, colors can also be customized. The existing surface treatment colors we offer include black, white, blue, and wood grain transfer designs. Those with color selection anxiety can choose black, which is versatile and reasonably priced.
Style:There are square, curved and diamond-shaped ones. I don't recommend choosing the square ones because they tend to accumulate dust. If you choose the black ones, the dust will be very obvious when it falls on them. Therefore, I suggest choosing the curved or diamond-shaped ones. There is a slope at the top, which makes it less likely to accumulate dust.
Size:The height dimensions are approximately three types: 4cm, 6cm, and 8cm. I chose 6cm. As for the length, you can choose it yourself. The one I bought is 3 meters long.
Base Board:The base plate is paired with the panel. The width and length are the same as those of the panel.
Corner and stopper accessories: I bought a few more of them. If there are any left over later, I can return them.
How to install the Aluminum Skirting Profile?
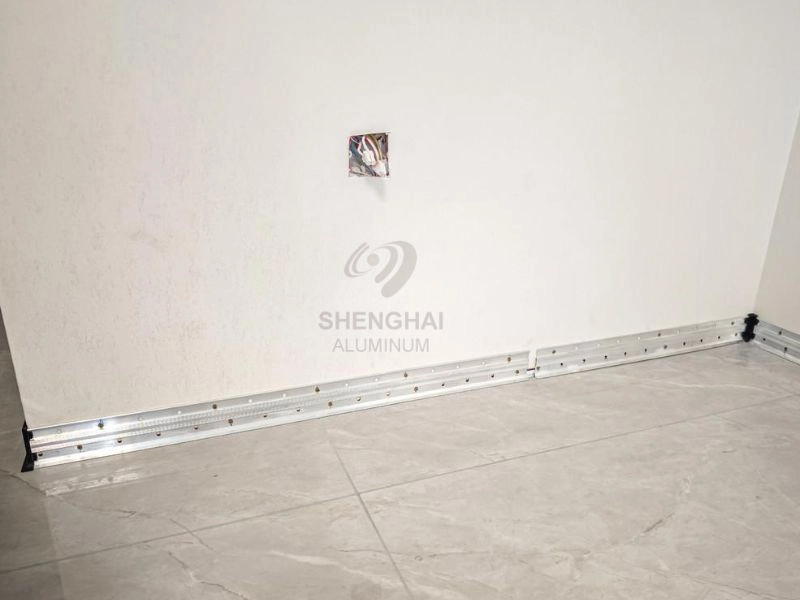
1. Installation of the base plate:
The first step is to install the base plate. Remember to install the connecting pieces on both sides before measuring the length. This way, the measurement will be more accurate and better suited for the panel. After measuring, mark the positions with a marker pen for cutting. For the cutting process, use a specialized aluminum cutting machine and choose a 8-inch saw blade.
Note: To avoid hand injuries, you can wear gloves as the aluminum profiles may have sharp burrs; wear goggles and a mask to prevent the fragments from flying into your eyes and face; wear headphones as the sound will be a bit loud.
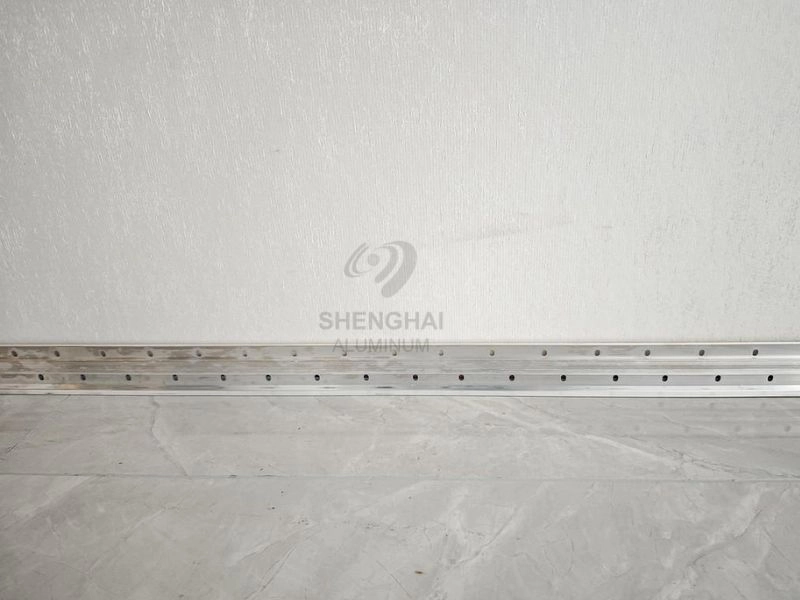
2. Marking the hole positions:
The second step is to mark the hole positions on the base plate. Usually, two positions can be marked every 30 cm. When the wall is uneven, an additional mark can be made. Besides marking on the wall, the positions can also be marked on the base plate. This ensures easy location and improves accuracy. Considering that the wall material might be wallpaper, to prevent the drill bit from slipping and causing danger when drilling holes, the position where the wallpaper is pierced can be pre-cut.
Note: It is advisable to drill two holes in advance to prevent misalignment. When marking, avoid areas where there may be wires to prevent the drill from accidentally touching the wires.

3. Drilling:
The third step involves conducting comprehensive drilling. The best tool for drilling is an electric drill. A small electric drill will also do. The items needed for drilling include 6mm expansion screws, 6mm expansion tubes, and 6mm drill bits. Mark the drill bit in advance, either with tape or by coloring it, to prevent the drill from going too deep. After drilling, insert the expansion tube and make sure it can be inserted exactly, so that the expansion tube can be tightly attached to the hole position and prevent the expansion tube from rotating along with the drill during the drilling process.
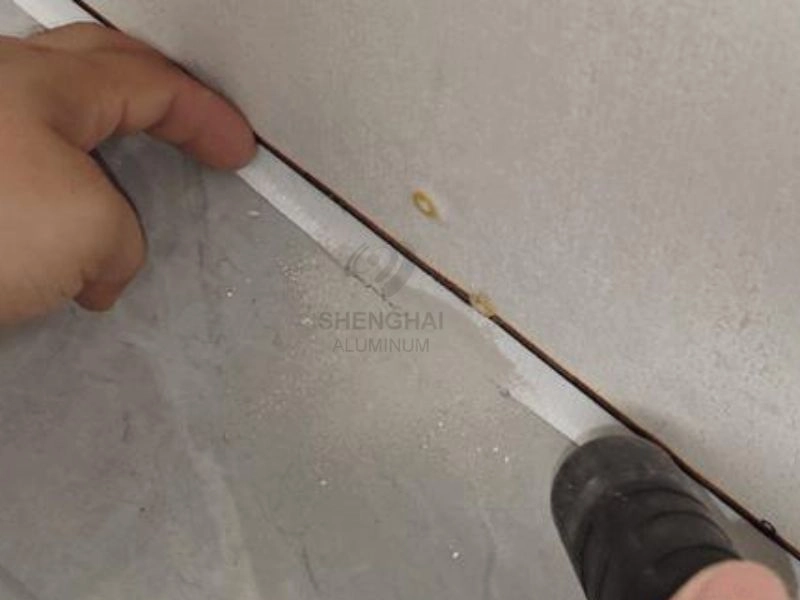
4. Cleaning and Vacuuming:
After drilling the holes, there will be a lot of dust. It is necessary to vacuum up the dust in advance; otherwise, it will be difficult to clean later.
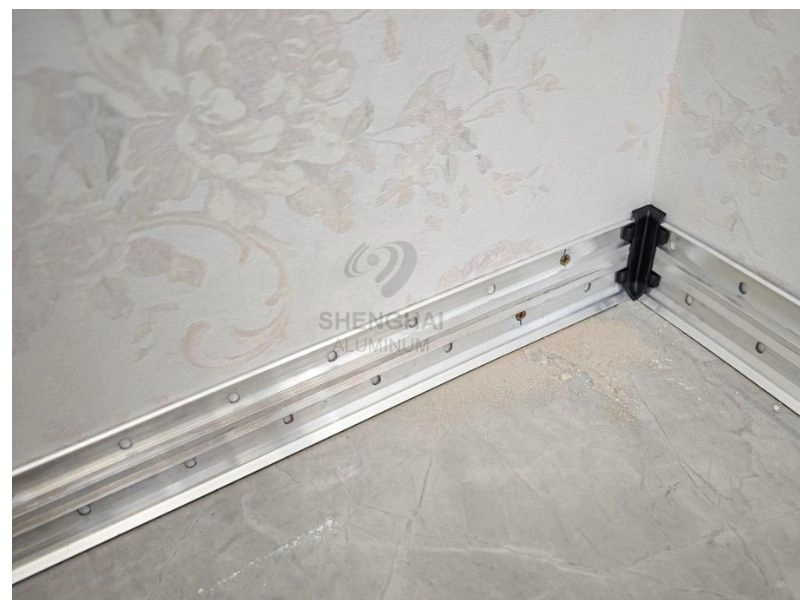
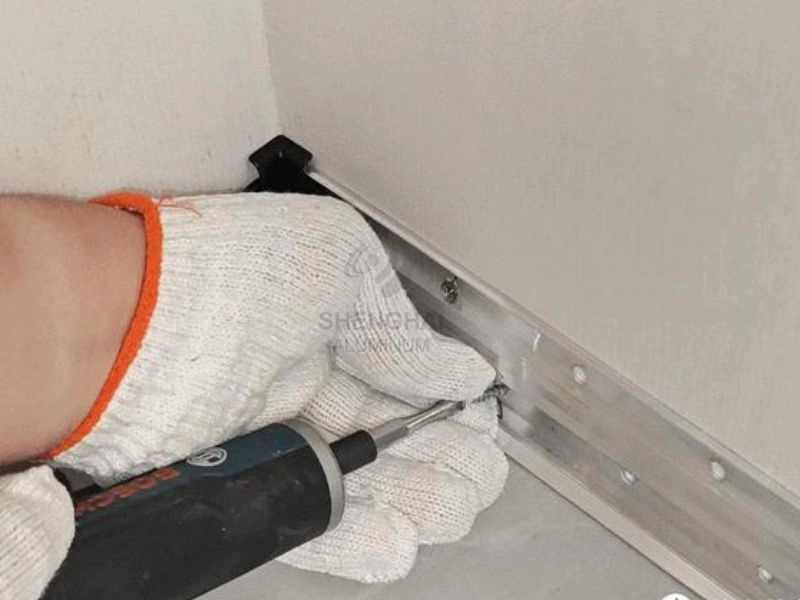
5. Tightening screws and fixing the base plate:
The left and right components should also be installed in advance, and then the screws should be tightened. Ensure that the base plate is tightly attached to the ground and the wall.
Note: Cut the middle part of the base plate. This will greatly ensure the accuracy.
6. Cutting the aluminum baseboard panels:
When cutting, you can make a slight reduction of 2mm to increase the tolerance rate. During installation, if the length is too long, you can gradually trim it off to ensure a smooth finish.
7. Installing the baseboard panels:
When placing the baseboard panels at the base position, first insert the bottom part into the slot, then strike the upper part. Use a rubber hammer, or wrap a towel around the hammer head or place a towel on the panel. This way, scratches on the panel caused by the strike can be reduced.
8. Clean the dust:
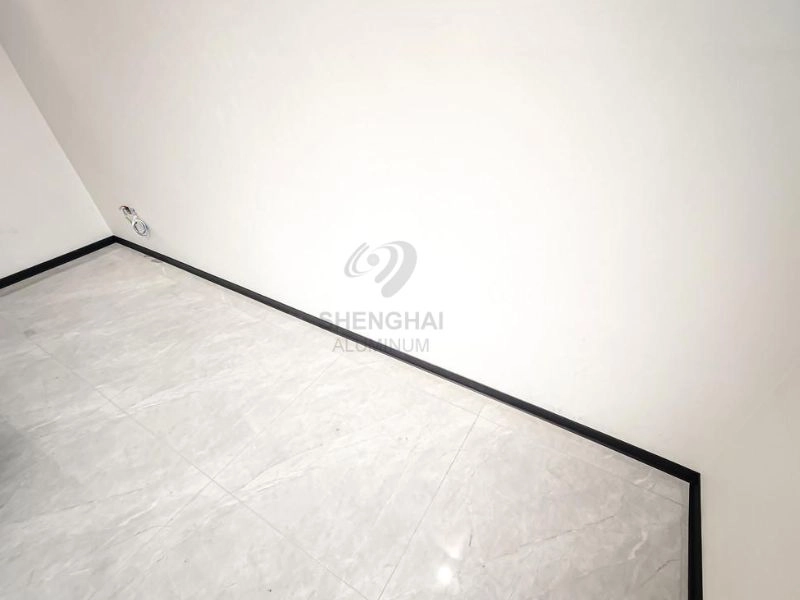
Use a slightly damp soft towel to wipe the dust off the panel surface and the floor. Once the aluminum baseboard is wiped clean, the installation is complete. The job is done!
The following are some recommended Aluminum Skirting Profiles from Shenghai.